Up and Down Garage Doors services the LiftMaster 85870 chain-drive opener across Richmond, Delta, Ladner, Tsawwassen, Vancouver’s west side, West Vancouver, and Squamish. We handle professional installation, safety sensor alignment, travel-limit programming, and same-day repair for installed units. Call 778-873-7282 for a tech today.
Liftmaster 85870 Installation Repair — What the 85870 is and who it’s for
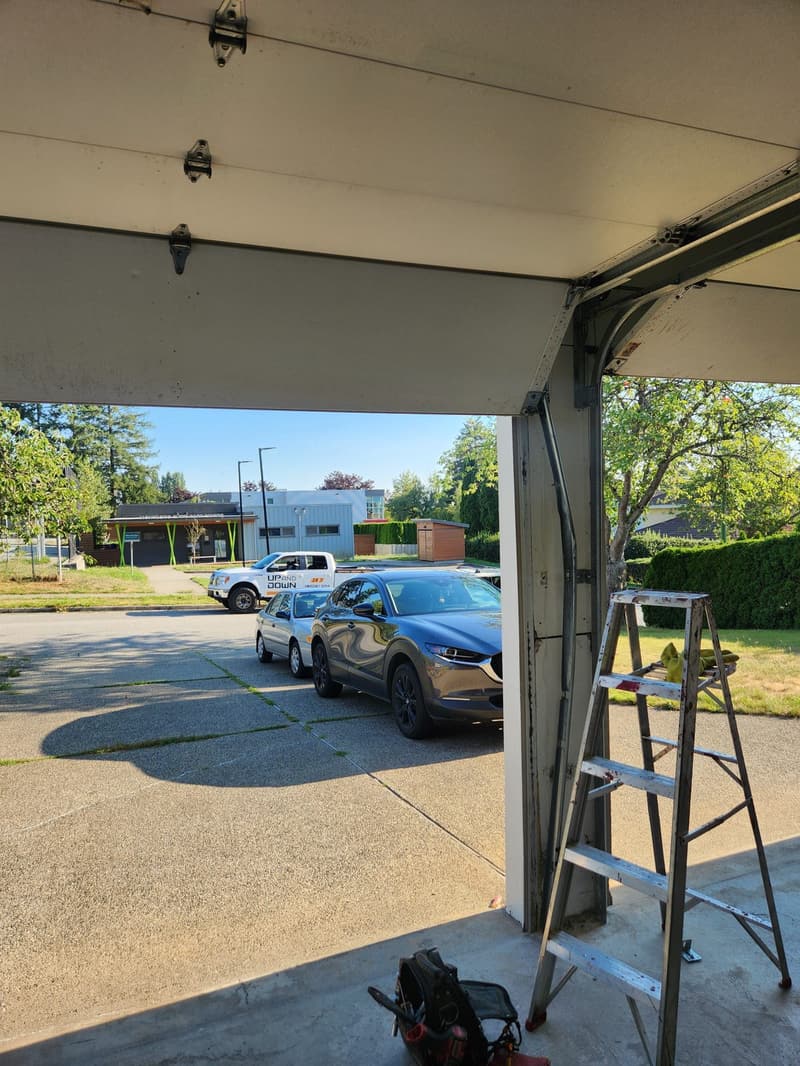
The LiftMaster 85870 sits in the Legacy Premium tier. It’s a 3/4 HP AC motor driving a chain rail. No camera, no battery backup, standard lighting only. LiftMaster discontinued this model around September 2025, so we don’t sell it as a new unit unless a dealer happens to have old stock on the shelf. We still repair and maintain every 85870 already hanging on a ceiling in our service area.
This opener makes sense for homeowners who already have one installed and want to keep it running, or for a replacement where the existing rail and wiring are in good shape and the budget leans toward a proven AC chain drive. The 3/4 HP motor handles standard residential doors up to about 16 feet wide and 7 or 8 feet tall without breaking a sweat. If you’re putting a fresh opener on a heavy solid-wood door or an insulated two-car door, the extra torque margin helps.
Because it’s a chain drive, you’ll hear more clatter than a belt unit. That’s the trade-off. Chain lasts a long time if you keep it lubed. The AC motor doesn’t have the soft-start ramp of a DC unit, so the door jumps to speed faster. Some people prefer that feel. The standard lighting is a single socket — usually 100W incandescent equivalent — enough to illuminate the garage but not a workbench.
No myQ Wi-Fi is built in. If you want phone control, you’ll need a separate myQ gateway or a universal smart controller wired to the wall button terminals. We install those add-ons regularly. Battery backup isn’t an option on this chassis, so if the power goes out you’re pulling the red emergency release cord. That’s worth knowing if your garage is your main entry point during storms.
Warranty coverage follows whatever LiftMaster printed in the original documentation. We don’t extend or modify the manufacturer’s warranty. Our labour coverage is separate — ask us about our labour warranty when we quote the job.
Professional installation for the 85870
We don’t just hang the motor and call it done. Every install starts with a door balance check. If the springs are weak or the cables are frayed, the opener will fight the door and burn out the logic board or strip the drive gear inside a year. We adjust or replace springs first. Then we verify the track is plumb, rollers spin freely, and hinges aren’t wallowed out.
Mounting the header bracket is critical. On older Richmond homes the header might be a single 2×6 or a laminated beam. We lag-bolt into solid framing, not just drywall or a 1x furring strip. The rail angle matters — too steep and the trolley binds; too shallow and the chain slaps the rail. We set it per the manual, then double-check with a level.
The chain tension adjustment on this model uses a threaded tensioner at the trolley. We set it so the chain sags about a quarter-inch at mid-span when the door is closed. Too tight and you’ll hear a whine under load; too loose and the chain jumps teeth on the sprocket. We run the door through three full cycles after the first adjustment, then re-check tension. It settles.
Travel limits are programmed with the push buttons on the motor head. We set the down limit so the weather seal compresses evenly across the bottom — no daylight gaps, no crushing the seal. The up limit stops the trolley just short of the opener body. Force settings come next. We dial the down force until the door reverses on a 2×4 laid flat on the floor, then back it off one click. Up force gets set so the door opens reliably but reverses if we grab the bottom edge firmly. That’s the safety standard we follow every time.
Safety sensors go at six inches max above the floor, one each side of the opening. We align them with a laser level, then test by waving a broom handle through the beam during closing. The door must reverse instantly. If the sensors are misaligned by even a degree, you get the infamous blinking lights and a door that won’t close. We’ve seen sensors knocked by garbage cans, bikes, snow shovels — we secure the brackets with tek screws into the track angle, not just the plastic clips.
Wiring the wall control and sensors uses the low-voltage terminals on the back panel. We run 22/2 bell wire stapled neatly along the ceiling joists, not dangling. If the homeowner wants a keypad or a second wall button, we add those on the same bus. For myQ, we plug the gateway into a nearby outlet and pair it to the opener’s learn button. Takes five minutes if the Wi-Fi reaches the garage. If not, we run a mesh node or suggest a hardwired universal smart controller.
Final walkthrough: we show the homeowner how to use the emergency release, how to reprogram a remote, and how to test the sensors monthly. We leave the manual in a zip-tie bag on the rail. Job isn’t done until the homeowner operates it confidently.
Common repair issues specific to chain drive
Chain drives have a predictable failure pattern. The drive gear inside the motor housing — usually a nylon or sintered metal gear meshing with the motor shaft — wears down over time. You’ll hear a grinding or clicking sound when the door moves, then eventually the motor spins but the chain doesn’t move. We replace the gear kit, which includes the gear, a new shaft bushing, and sometimes a limit switch cam. It’s a two-hour job if the opener is accessible.
The chain itself stretches. After five to seven years you’ll hear a slap-slap-slap as the chain hits the rail on each cycle. We can tension it once or twice, but once the pins and rollers wear, the chain develops stiff spots. At that point we swap the whole chain assembly. We use LiftMaster OEM chain kits — aftermarket chains often have slightly different pitch and chew up the sprocket.
The trolley carriage rides on a plastic wear strip inside the rail. Dirt and dried grease turn that strip into sandpaper. The trolley wobbles, the chain derails, and the door jerks. We clean the rail, replace the wear strip, and re-grease with white lithium. If the trolley ears are cracked — common on older units — we replace the trolley.
Logic board failures show up as erratic behavior: door opens but won’t close, remotes stop working, lights flash codes. Power surges kill these AC boards. We keep common board numbers in the van. If the board is obsolete, we’ll discuss a full opener replacement — often the smarter money on a discontinued model.
Capacitor on the AC motor can fail. Symptom: motor hums but won’t start, or starts slowly and trips the thermal overload. We test with a multimeter and swap the cap if it’s out of spec. Cheap fix, but you need the right microfarad rating and voltage.
Safety sensor issues are the number one service call. Misalignment, cut wires, spider webs, sun glare on the lens. We clean, realign, and if the wire is nicked we run a new pair. Sometimes the sensor itself dies — we carry universal replacements that work on the 85870 terminals.
Troubleshooting & symptoms
Door reverses halfway down, lights flash ten times: sensors. Check alignment, clean lenses, verify wires aren’t cut. If one sensor shows a solid green LED and the other is off or red, that’s the bad side.
Door opens a foot then stops, or won’t open at all: check down force setting first. If it’s set too sensitive, the door weight triggers a false obstruction. Also check for a broken spring — the opener can’t lift the dead weight. We test by pulling the emergency release and lifting manually. Heavy? It’s the spring.
Remote works but wall button doesn’t: usually a wire break at the wall button or a staple through the insulation. We tone the wire and repair. If the wall button LED doesn’t light, it’s not getting power from the opener.
Opener runs but chain doesn’t move: drive gear stripped. Pull the cover, spin the motor shaft by hand. If it spins free but the sprocket doesn’t turn, gear is gone.
Lights don’t come on: check the bulb first. Then the light socket contacts. Then the logic board relay. We’ve seen sockets corroded from humidity in unheated garages.
Keypad loses code after power outage: older keypads need reprogramming after total power loss. If it keeps forgetting, the keypad battery is dead or the keypad is shot.
Door closes then immediately opens: down limit set too far, or the force is too sensitive. We adjust the down limit up one turn at a time until the seal compresses without triggering reversal.
How the 85870 compares to other models
The 85870 is a Legacy Premium chain-drive unit with a 3/4 HP AC motor. Current LiftMaster lineup moves toward DC motors with battery backup and integrated myQ. The direct replacement in the current catalog is a DC belt-drive model with 3/4 HP equivalent torque, battery backup, and Wi-Fi built in. It’s quieter, smarter, and works during a power outage. Cost is higher upfront.
If you’re comparing strictly on drive type, the current chain-drive equivalent still uses AC power in some tiers but adds battery backup and myQ. The rail profile changed, so you can’t just swap the motor head onto your old rail — the trolley and chain attachment points differ. That means a full rail swap, which adds labor.
For a homeowner with an 85870 that’s under ten years old and working fine, we’d say keep it. Maintain it. When the logic board or drive gear goes, repair it. Once you’re looking at a second major repair, or you want battery backup because your garage is your front door, that’s the time to upgrade to the current model. We’ll quote both options so you can decide.
Service story: Tsawwassen, late November
Got a call around 7 AM. Homeowner in Tsawwassen, driveway steep, garage under the house. Their 85870 wouldn’t close — door would start down, jerk, reverse, lights flash. They’d tried realigning the sensors themselves. No luck.
Arrived to find the sensors perfectly aligned, lenses clean. But the door shuddered on the way down. Pulled the release. Door moved fine by hand. Springs balanced. Ran the opener with the door disconnected — trolley moved smooth. So the opener wasn’t binding.
Reconnected the door. Watched the chain. On the down cycle, the chain slackened near the bottom, then snapped tight as the door hit the floor. That snap triggered the force sensor. The chain had stretched enough that at the bottom of travel, the trolley bottomed out on the rail stop before the chain took up the slack. The sudden tension spike looked like an obstruction to the logic board.
Adjusted the down limit up half a turn so the trolley stopped sooner. Chain stayed taut. Tested five cycles — perfect. But the chain was still stretched. Told the homeowner we could tension it now, but it’ll stretch again in a few months. They opted for a new chain kit. We swapped it, re-tensioned, re-checked limits. Door runs quiet now. Cost them a chain kit and two hours labor. Avoided a full opener replacement they were ready to approve.
That’s the difference between a parts-swapper and a tech who watches the whole system. We see the chain, the rail, the door, the springs — not just the motor head.
Frequently asked questions
How much does LiftMaster 85870 installation cost?
Opener installation typically runs $350 to $650 installed depending on model tier and existing wiring or rail condition. For an 85870, if we’re mounting to a solid header with good wiring and a straight rail, you’re near the low end. If we need to reinforce the header, run new low-voltage wire, replace the rail because the old one is bent, or add a myQ gateway, the price moves up. We always quote firm before we start.
What’s involved in the install?
We check door balance and spring condition first. Then we lag-bolt the header bracket, assemble and hang the rail, set chain tension, program travel limits and force settings, align safety sensors, wire the wall control and any accessories, pair remotes and keypads, and test the full cycle at least five times. We also show you how to use the emergency release and test the sensors monthly. Plan on two to three hours for a clean install.
Should I repair my 85870 or replace it?
If the opener is under ten years old and the repair is a drive gear, chain, capacitor, or sensor — fix it. Those are affordable and the rest of the unit has life left. If the logic board is dead and the part is obsolete, or you’re facing a second major repair in two years, or you want battery backup and phone control, replace it. We’ll lay out both prices and let you choose. No pressure.
Can you come today?
We run same-day service calls across Richmond, Delta, Ladner, Tsawwassen, Vancouver’s west side, West Vancouver, and Squamish when our schedule allows. Morning calls have the best shot. Call 778-873-7282 early and we’ll tell you the next available window. If it’s an emergency — door stuck open, car trapped — we prioritize those.
Why does my 85870 chain slap the rail on every cycle?
Chain stretch. The pins and rollers wear, lengthening the chain. We can tension it at the trolley adjustment bolt, but once the chain has stiff spots or the wear strip in the rail is gone, tensioning only buys a few months. A new OEM chain kit and a fresh wear strip fix it properly. We do both in one visit.
Is the manufacturer warranty still valid on a discontinued model?
LiftMaster’s warranty follows the original documentation that came with the opener. Discontinuation doesn’t void an active warranty. If you’re within the coverage period and have a defect in materials or workmanship, LiftMaster handles the part. Our labour to install that part is separate — ask us about our labour warranty. We don’t speak for LiftMaster on their coverage terms.
Ready to book?
Call 778-873-7282. We service Richmond, Delta, Ladner, Tsawwassen, Vancouver’s west side (Kitsilano, Point Grey, Dunbar, Kerrisdale, Shaughnessy, South Vancouver, UBC), West Vancouver, and Squamish. Same-day repair when the schedule allows.
Garage door opener repair | New garage door installation | Garage door maintenance | Emergency garage door repair