Up and Down Garage Doors services the LiftMaster 81602, 81600, 81650, 81550, and 8165 across Richmond, Delta, Tsawwassen, Ladner, Vancouver’s west side, West Vancouver, and Squamish. We handle repairs, safety sensor alignment, travel limit programming, and full replacements with current equivalent models. Same-day visits are often available when you call before noon.
Liftmaster Legacy Basic Models Installation Repair — What this opener is and who it’s for
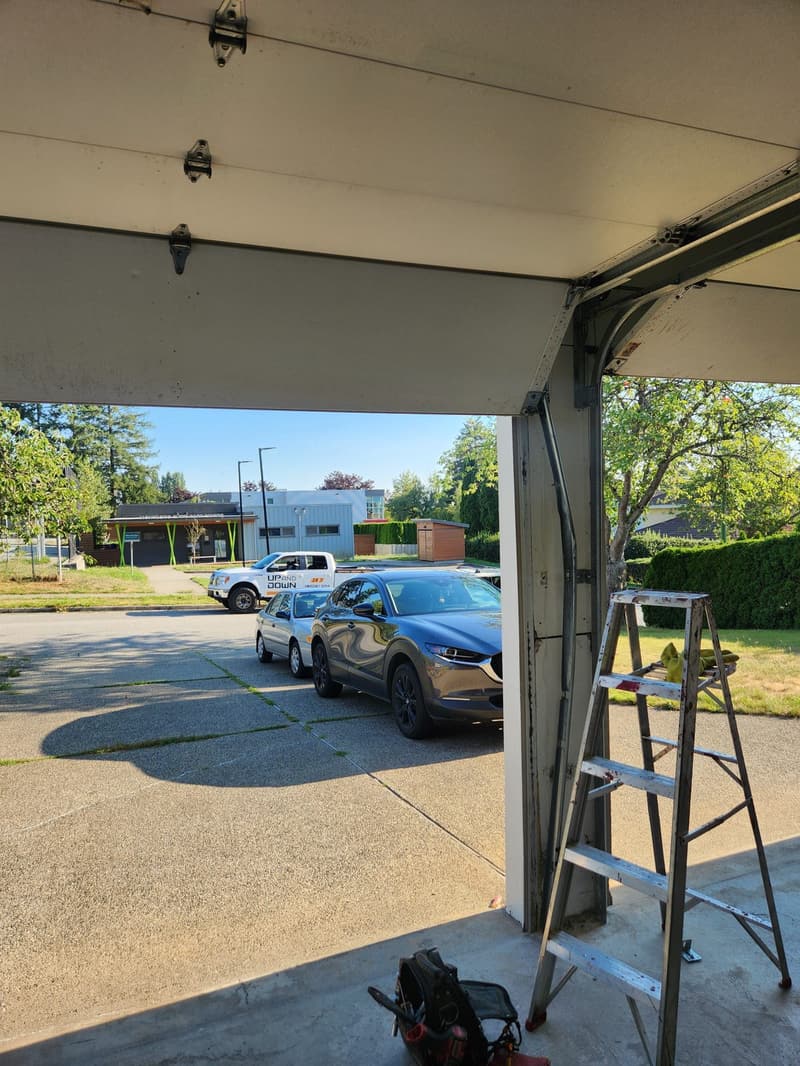
The LiftMaster 81602, 81600, 81650, 81550, and 8165 sit in the Legacy Basic/Contractor tier. These units were the workhorses of many tract-home builds and rental properties across the Lower Mainland for years. Drive type varies across the family — some shipped with chain rail, others with belt — and the motor platform is a mix of AC and DC depending on the exact model suffix. Lighting is the standard single or dual bulb arrangement you’d expect at this price point. Battery backup is present on certain SKUs and absent on others; we check the label on the motor head before quoting any service call. The manufacturer warranty follows the original documentation that shipped with the unit.
LiftMaster discontinued this series around September to October 2025. We want to be straight with you: we do not sell these as new installations anymore unless a supplier happens to have a single unit of old dealer stock gathering dust. If you’re looking at a brand-new door or a total opener swap, the current equivalents are the 2220L and 2420L. Those models give you a modern DC motor, quieter belt drive standard, integrated battery backup, and myQ connectivity built in. We’ll walk through the comparison later on this page.
If you already have one of these 81600-series units hanging from your ceiling, we absolutely still service them. Parts availability is decent for the common wear items — logic boards, gear kits, limit switches, safety eyes, trolley assemblies, and rail sections. The chain and belt rail parts cross-reference with current contractor-series rails, so we can usually get a truck moving same-day if the failure is mechanical. The main thing we watch for on the AC motor variants is the start capacitor and the centrifugal switch inside the motor housing; on the DC variants it’s the RPM sensor and the control board’s output stage. Either way, we carry the usual suspects in the van.
Professional installation for the 81600 series
We don’t do “hook and go” installs. When we mount one of these legacy units — typically as a warranty replacement for an identical model or a rare NOS unit — the process starts with the header bracket. We verify the header can take the load. On older Richmond and Ladner homes we often find a single 2×4 flat against the trusses; that’s not enough. We add blocking or a continuous angle iron back to the next two trusses. The opener hangs level, the rail sits at the correct angle, and the door doesn’t bind on the trolley.
Rail assembly is next. Chain units get a master link and tension adjustment; belt units get a spring tensioner on the idler end. We run the rail, bolt the motor head to the ceiling brackets, and check that the trolley engages the carriage cleanly. Travel limits are set with the door disconnected first — up limit, down limit — then we reconnect the arm and fine-tune with the door moving under power. Force settings are adjusted so the door reverses on a 2×4 flat on the floor at the center of the opening. That’s the federal safety standard and we treat it as non-negotiable.
Safety sensors go in at six inches above the floor, one each side, aimed dead at each other. We use a laser level on wide doors. The photo-eyes on these legacy units are the older 41A5034 style — three-wire, no self-diagnostics. We test the beam break with a broom handle, then with a cardboard box, then with the door actually closing. If the LEDs flicker or the door refuses to close, we re-aim, check for staples through the wire, and verify the voltage at the motor head terminals.
Wall control and remote pairing follow the learn-button procedure on the motor head. These models use the yellow learn button (Security+ rolling code). We program every remote, keypad, and the wall button in front of the homeowner so there’s no mystery later. If the home has a myQ gateway or an internet gateway accessory, we pair it, but note that these openers do not have built-in Wi-Fi or a camera. The myQ connection is an add-on module, not native. We make sure the app shows open/close status and that notifications fire correctly before we leave.
Lighting gets tested — standard bulb sockets, usually 60W max. We recommend LED bulbs rated for garage door opener vibration; the cheap ones flicker and die fast. Battery backup, on models equipped, gets a load test. We disconnect AC power, cycle the door three times, and verify the beeper and status LED behave per the manual. If the backup battery is original to a ten-year-old unit, we swap it on the spot. It’s a $40 part that saves a service call during the next windstorm.
Common repair issues specific to chain and belt drive
Chain drive units in this series develop a characteristic groan when the chain stretches past the adjustment window. The chain rides the sprocket teeth unevenly, you hear a metallic slap on every cycle, and eventually the master link walks off. We see this most on doors over 16 feet wide where the rail span is long and the chain sag is pronounced. The fix is a new chain kit and a fresh sprocket on the motor output shaft — don’t just shorten the old chain, the pitch is already worn.
Belt drive units are quieter but the belt teeth can sheer off if the door binds or the trolley jams. We’ve pulled belts with missing chunks every six inches. The root cause is usually a dry torsion spring shaft or a roller that’s seized and dragging the door sideways. We replace the belt, lube the springs with synthetic garage door grease, swap the bad rollers, and reset the force limits lower so the opener doesn’t muscle through the next bind.
The trolley carriage on both drive types uses a plastic inner sleeve that cracks after years of thermal cycling. The symptom is a click-clack sound at the top of travel and the door stopping short. The carriage separates from the threaded shaft just enough to lose engagement. We carry the reinforced nylon carriage assembly; it’s a ten-minute swap once the rail is down.
Logic board failures show up as remotes that won’t program, safety eyes that read aligned but the door won’t close, or the opener running for three seconds then reversing with no obstruction. The yellow learn button LED often flashes an error code — five flashes for RPM sensor, six for motor overload, etc. We read the code, confirm with a multimeter at the motor leads and RPM sensor connector, then swap the board. On AC motor models we also ohm the start capacitor and check the centrifugal switch; a bad cap mimics a board failure perfectly.
Safety sensor wiring is a chronic headache on these older installs. The original white 22/3 wire gets brittle, staples cut through the insulation, and you get intermittent shorts that drive the logic board crazy. We re-run fresh 22/4 thermostat wire in loom, staple-free along the track angle, and terminate with crimp connectors at the motor head. No more ghost reversals.
Limit switch drift happens on the mechanical limit assemblies (the white cams on the limit shaft). Vibration walks the cams over time. The door stops six inches short or crashes into the header. We reset the cams, verify the door seals to the floor, and torque the limit shaft set screw with blue Loctite. On newer DC models in this series the limits are electronic, stored on the board — those don’t drift but they can corrupt if the board takes a voltage spike. Whole different diagnostic path.
Troubleshooting symptoms and what they usually mean
Door opens fine but won’t close, lights flash ten times: safety sensor misalignment or wire break. We check LED status on each eye — solid green on sending, solid amber on receiving. If one is off or flickering, it’s aim or wire. If both solid but door still reverses, we check for sunlight blinding the receiver (west-facing garages in Point Grey and UBC get this bad in late afternoon) and install a shade hood or swap to the newer 850LM eyes with better rejection.
Opener hums but doesn’t move, then clicks off: motor start capacitor (AC models) or motor output MOSFETs (DC models). We test the cap with a capacitance meter; under 80% of rated microfarads gets replaced. On DC units we measure motor winding resistance and check for shorted output transistors on the board. Either way the motor head comes down for bench work.
Remote works from five feet but not from the car: antenna wire on the motor head is coiled up or cut. We extend the gray antenna wire straight down, away from the motor windings and the power cord. Range usually jumps from ten feet to fifty. If the remote itself is dying, we program a new 893MAX or 877MAX tri-band remote — they work on Security+ 2.0 and backward compatible with the yellow learn button.
Door reverses halfway up: force setting too low or a binding door. We disconnect the arm, run the door by hand. If it sticks, we fix the door — rollers, tracks, springs, cables. If it runs free, we bump the up force one notch at a time until it completes the cycle without reversing. Never crank it to max; that defeats the entrapment protection.
Wall button works but remotes don’t: learn button memory full or corrupted. We clear all codes (hold learn button six seconds until LED goes out), then reprogram every device. If it won’t accept new codes after a clear, the board’s EEPROM is toast. Board swap.
Opener runs, trolley moves, but door doesn’t: broken trolley carriage or stripped drive gear inside the motor head. We pull the cover, inspect the helical gear on the motor shaft and the large driven gear. The driven gear is nylon with a metal insert; the insert shears off under shock load. Gear kit replacement is standard shop work — we do two or three a week across the fleet.
How this model compares to the current lineup
The 2220L and 2420L are the direct replacements. Both are DC belt drive, battery backup standard, myQ built-in, and Security+ 2.0 rolling code. The 2220L is a 1/2 HP equivalent; the 2420L is 3/4 HP for heavier doors — solid wood, insulated steel over 16 feet, or double doors on a single opener. The 81600 series topped out at roughly 1/2 HP AC or DC depending on model; if you’re replacing an 81650 on a heavy double door in Southlands or British Properties, step up to the 2420L. The rail profile is the same 1-piece or 3-piece T-rail system, so the header bracket and ceiling mounts often reuse the existing holes. We still verify spacing and add blocking if the old install was sketchy.
Noise level drops dramatically. The AC chain units in the 81600 series rattle the ceiling joists; the DC belt units are library-quiet. Vibration isolation is better on the new motor heads — rubber grommets on all four mounting points instead of metal-on-metal. The lighting on the 2220L/2420L is LED corners, 1200 lumens total, motion-activated. No more changing bulbs on a ladder.
Battery backup on the new units is a 12V 5Ah sealed lead-acid that runs the opener for 20+ cycles. The legacy units that had backup used a smaller 4.5Ah pack good for maybe 8 cycles. During the November 2024 atmospheric river, we had clients on the new models operating normally for three days without grid power. The old units died after the second cycle. That’s the real-world difference.
Smart features: myQ is native now. No gateway dongle to lose or fail. The app shows real-time position, sends alerts, integrates with Google Home, Alexa, and HomeKit via bridge. The 81600 series needed the 828LM or 819LM gateway — two more points of failure. We still support those gateways but we don’t install them new.
A job from last month in Tsawwassen
Got a call from a place on 53rd Avenue near the Boundary Bay dyke. Homeowner said the opener started making a grinding noise, then the door stopped halfway up and wouldn’t budge. She’d tried the emergency release but the door felt heavy — one spring had snapped, the other was stretched past safe limit. The opener was an 81600 chain drive, about twelve years old. The trolley carriage had shattered from the shock load when the spring broke, and the chain had jumped the sprocket, chewing up the motor output gear.
We secured the door in the closed position with vise-grips on the track, removed the opener, and brought it to the shop. Motor head needed a gear kit, new sprocket, chain kit, and trolley carriage. The logic board tested fine. While the opener was on the bench, we swapped the start capacitor preventatively — cheap insurance. Reinstalled the next morning with fresh ceiling brackets and blocking because the original lag bolts were spinning in dry rot.
The door itself needed a full spring conversion: dual torsion to a matched pair of 225lb springs, new cables, bearing plates, and center bracket. We balanced it, lubed everything, then reinstalled the arm and dialed the force limits down to 15% on a 1/2 HP AC motor. Door glides now. Homeowner asked about upgrading to a 2420L; we quoted it but she wanted to keep the repaired unit since the motor head was solid. We warrantied the parts and labour, gave her a spare remote, and told her to call if the chain stretches again. She’s in our maintenance reminder system for next spring.
Frequently asked questions
What does installation typically cost?
Opener installation typically runs $350 to $650 installed depending on model tier and existing wiring or rail condition. That range covers the labour to mount, wire, program, and safety-test. If we need to add header blocking, run new sensor wire, or replace a damaged rail section, it lands toward the top. A straight swap of an identical legacy unit on solid framing with good wiring sits at the bottom. We always quote firm on site — no phone guesses.
What’s involved in the install?
We verify the header structure, add blocking if needed, assemble the rail (chain or belt), mount the motor head, hang the rail, connect the arm, set travel limits and force, align safety sensors, program remotes and wall control, test battery backup if equipped, and cycle the door ten times. We also check the door balance, springs, rollers, and cables — an opener can’t fix a broken door. If the door needs work, we tell you before we touch the opener.
Repair or replace — how do I decide?
If the opener is over ten years old and the repair bill approaches half the cost of a new 2220L or 2420L installed, replace. The new units are quieter, have battery backup standard, native myQ, and a fresh manufacturer warranty. If it’s a single part — gear kit, logic board, safety eyes, trolley — and the rest of the unit is clean, repair makes sense. We’ll show you the worn parts and give you both prices. You decide.
Can you come same-day?
Often yes. Call 778-873-7282 before noon and we’ll slot you in if a truck is in your zone — Richmond, Delta, Ladner, Tsawwassen, Vancouver west side, West Van, or Squamish. After noon we can usually do next morning. Emergencies like a door stuck open on a car or a security issue get priority regardless of time.
Why does my 81600 series opener reverse halfway down only in late afternoon?
Sunlight hitting the receiving sensor lens. West-facing garages in Kitsilano, Point Grey, Dunbar, and UBC get this every fall. The infrared beam gets washed out. Fix: install a simple shade hood over the receiver eye (we 3D-print brackets that snap on) or upgrade to the 850LM sensor kit with better ambient light rejection. Ten-minute job.
What about warranty coverage?
The opener manufacturer warranty is whatever LiftMaster’s original documentation states for your specific model — we don’t set those terms. Our labour warranty is separate; ask us about our labour warranty when we quote. If we install a new 2220L or 2420L, you get the current LiftMaster factory warranty plus our labour coverage. On repairs, the replacement parts carry the part manufacturer’s warranty and our labour stands behind the install.
We also handle garage door opener repair across all brands, new garage door installation when the door itself is done, annual maintenance to keep the whole system running, and emergency service for the middle-of-the-night failures.
Call 778-873-7282 — Up and Down Garage Doors, Richmond-based, serving Metro Vancouver and the Sea-to-Sky corridor.