Why Insulation Matters for Richmond Garage Doors
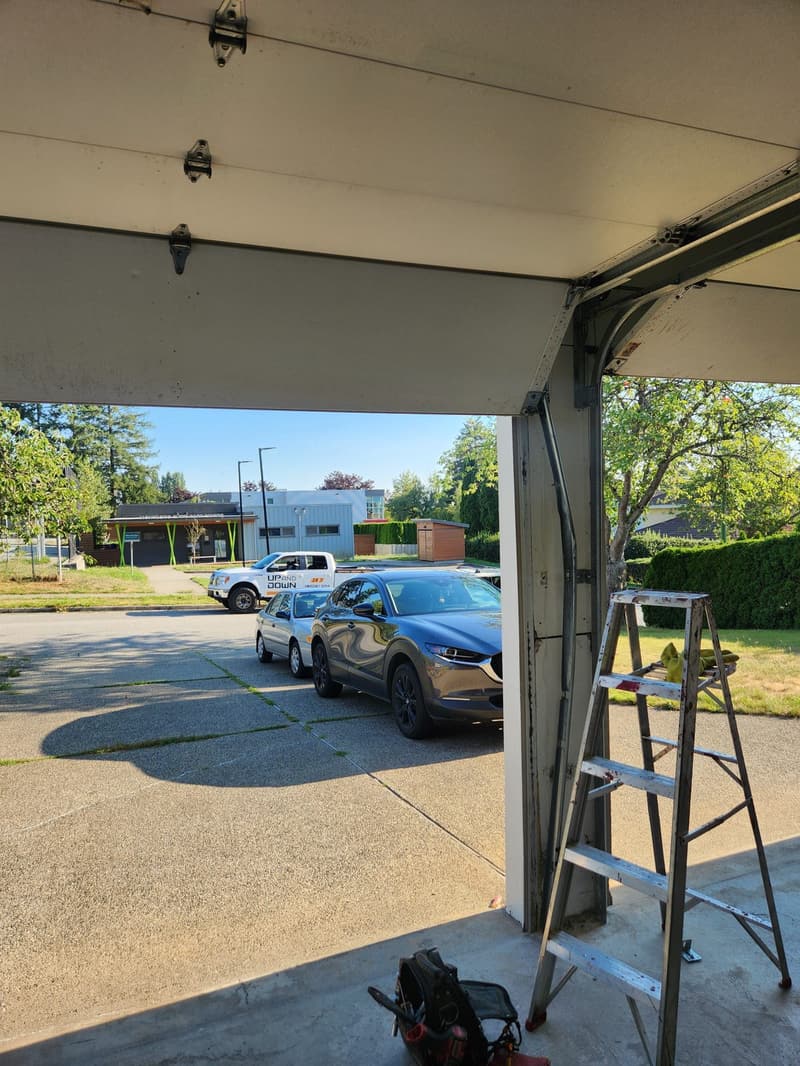
Richmond’s coastal climate brings damp winters and mild, humid summers, creating conditions where uninsulated garage doors contribute significantly to heat loss in attached homes. Many homes in neighbourhoods like Steveston, Burkeville, and the City Centre feature older garage doors with minimal thermal resistance, often just a single layer of steel or thin aluminum. When these doors conduct cold into the garage space, it forces adjacent heating systems to work harder, especially in homes where the garage shares a wall with living areas or bedrooms. Installing a properly insulated door isn’t just about comfort—it reduces energy transfer, minimizes condensation on interior surfaces, and helps prevent mould growth in enclosed spaces. For homes near the Fraser River or along No. 3 Road, where humidity lingers, this moisture control is critical to preserving both the door mechanism and the structural integrity of the garage frame.
Understanding Insulated Door Construction
Not all insulated garage doors perform the same. The core material determines thermal efficiency: polyurethane foam injected between steel skins offers higher R-values per inch than polystyrene panels, which are often glued or snapped into place. We install doors with full-perimeter thermal breaks—separating the interior and exterior metal layers to stop conductive heat transfer. The steel gauge matters too; 24-gauge or thicker skins resist denting from impacts while maintaining flatness over time, which is essential for smooth operation. Weatherstripping at the jambs, header, and between panels must be EPDM rubber or vinyl bulb seals that remain flexible in freezing temperatures. In Richmond’s older industrial zones near Bridgeport Road or along the Canada Line corridor, we frequently retrofit doors where original seals have cracked or shrunk, leading to air leakage that undermines insulation performance regardless of the door’s core.
Common Failure Modes We Prevent
Improper installation is the leading cause of premature failure in insulated doors. If the vertical tracks aren’t plumbed to within 1/8 inch over the door’s height, the door binds, causing roller wear and motor strain. Over-tightening the lag bolts that secure the track brackets to the jamb can distort the wood framing, especially in older Richmond homes where studs may be weathered or uneven. We shim behind brackets using pressure-treated lumber or composite shims to maintain alignment without crushing the frame. Another frequent issue is incorrect spring tension—too much tension makes the door hard to close and risks cable slip; too little causes the door to sag in the middle, stressing the panels and breaking seals. We use a calibrated spring winding bar and measure torque based on door height, width, and panel weight, never relying on rule-of-thumb estimates. Finally, we ensure the operator’s trolley arm is parallel to the door at the top of travel; misalignment here causes premature wear on the opener’s drive gear.
Preparing Your Richmond Garage for Installation
Before we begin, we assess the garage opening for squareness, rot, and structural integrity. In homes built during the 1970s and 80s—common in areas like Gilmore or along Westminster Highway—we often find moisture damage at the bottom of the jambs where water has wicked up from the concrete floor. We probe with an awl and replace any compromised wood with pressure-treated lumber, sealing the base with a silicone-based sealant to prevent future wicking. The header must be level and capable of bearing the door’s dynamic load; we reinforce sagging headers with sistered 2x8s or steel plates if needed. The floor slope is checked too—Richmond’s clay-rich soil can cause settling, leading to uneven slabs that prevent the door from sealing fully at the bottom. We recommend a concrete grind or self-levelling compound if the variance exceeds 3/8 inch across the width, ensuring the bottom seal makes full contact when closed.
The Installation Process: Step by Step
We begin by removing the old door and tracking system, inspecting the framing for damage as we go. New vertical tracks are installed first, secured with lag bolts into solid framing, not just drywall or sheathing. We use a laser level to ensure both tracks are equidistant from the jamb and perfectly plumb. Horizontal tracks are then mounted to the header, with the radius transition properly supported to avoid stress points. The door panels are lifted into place, starting with the bottom section, which is shimmed to maintain even clearance on both sides. Each subsequent panel is connected via hinges, with rollers inserted into the track as we go. Weatherstripping is applied to the interlocking edges before the next panel is seated, ensuring a continuous seal. Once the door is hanging, we attach the lift cables to the bottom brackets, wind the springs to specification, and test balance by lifting the door manually—it should stay put at any height without drifting. Finally, we install the opener, align the trolley, and set the force and travel limits according to the manufacturer’s specifications for the door’s weight.
Frequently Asked Questions
How does an insulated garage door affect my home’s energy efficiency in Richmond’s climate?
An insulated door reduces heat transfer between your garage and living spaces, which is especially valuable in Richmond where winter temperatures often hover near freezing and summer humidity can make uninsulated garages feel like greenhouses. By minimizing this exchange, your furnace or heat pump doesn’t need to compensate as much for lost energy, leading to more stable indoor temperatures and lower utility bills over time. The effect is most noticeable in attached garages where the door shares a wall with conditioned spaces like kitchens or bedrooms.
Can I install an insulated door myself, or should I hire a professional?
While it’s physically possible for a experienced DIYer to install a garage door, the risks—especially with torsion spring systems—are significant. Incorrect spring winding can result in sudden release, causing serious injury or property damage. Misaligned tracks or improperly secured headers lead to binding, premature wear, and potential door collapse. We’ve seen too many cases where a DIY attempt ends in costly repairs or safety hazards, making professional installation the only responsible choice for a system under constant tension.
What maintenance does an insulated garage door need after installation?
Lubricate the rollers, hinges, and spring bearings every six months with a silicone-based spray—never use WD-40, as it attracts dirt and degrades rubber seals. Inspect the weatherstripping annually for cracks or compression, particularly before winter, and clean the door surface with mild soap and water to prevent salt or pollutant buildup from affecting the finish. Check the door’s balance twice a year by disconnecting the opener and lifting it manually; if it doesn’t stay put halfway open, the springs may need adjustment by a technician. Regular care ensures the insulation performs as intended and extends the life of the entire system.