Limit switches on a chain drive garage door opener tell the motor when to stop opening or closing the door. They are small adjustable cams or screws on the opener unit that trigger micro-switches when the trolley reaches the end of its travel. If the door doesn’t open fully, closes too far and hits the floor, or reverses immediately after hitting the floor, the limit switches likely need adjustment. This is a common issue after power outages, manual release use, or chain stretch over time.
Locating the Limit Switch Adjustment Screws
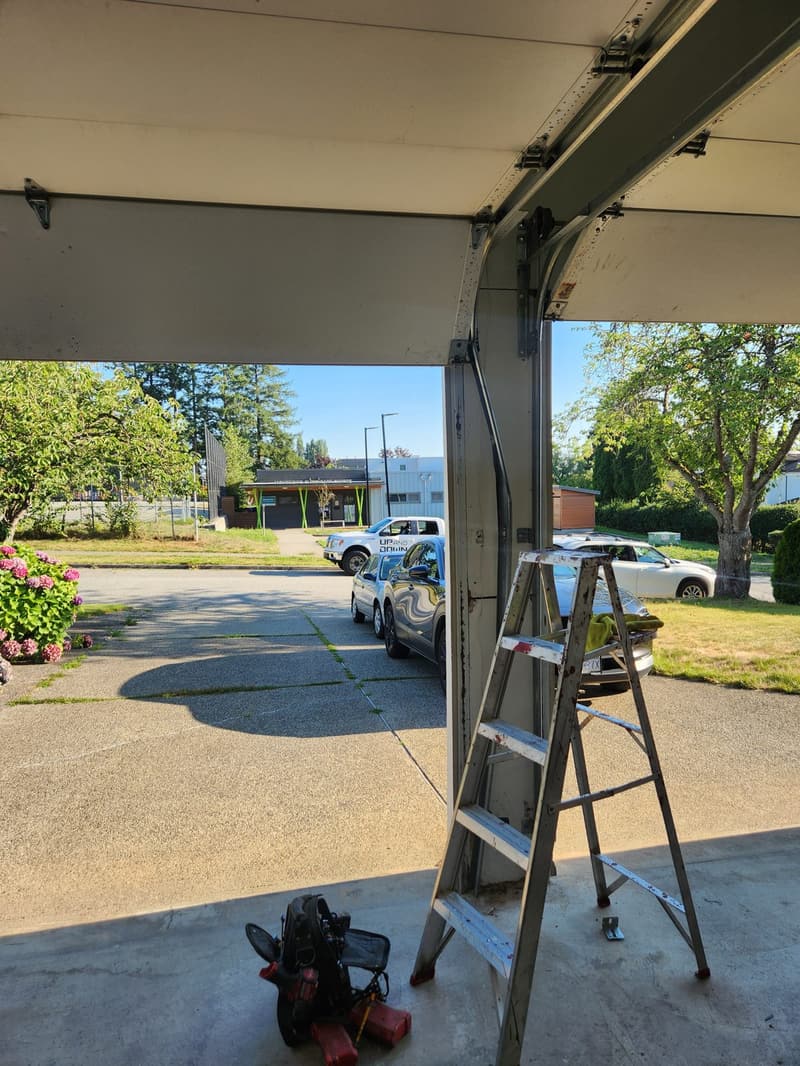
On most chain drive openers, the limit switches are found on the side or rear of the motor housing, near where the chain connects to the trolley. Look for two rotating screws or dials labeled ‘UP’ and ‘DOWN’ or with arrows indicating direction. These are not the force adjustment screws—those are usually separate and control how hard the motor pushes. The limit screws physically move cams that press against switches inside the unit. Before touching anything, unplug the opener or disconnect power at the ceiling switch to prevent accidental activation.
How the Limit Mechanism Works
As the trolley moves along the rail, it carries a metal arm or trigger that contacts the adjustable cams on the limit screws. When the trolley reaches the fully open position, the arm pushes the ‘UP’ cam far enough to activate the switch, cutting power to the motor. The same happens in reverse for the ‘DOWN’ limit when closing. If the cam is set too far inward, the switch activates too early—stopping the door before it’s fully open or causing it to reverse on close because it thinks it hit an obstruction. If set too far out, the door travels too far, potentially crushing the bottom seal or forcing the trolley into the rail end.
Signs Your Limit Switches Need Adjustment
A door that stops six inches short of fully open usually means the UP limit is set too conservative. If the door closes, hits the floor, then immediately reverses back up, the DOWN limit is likely set too far—allowing the door to travel past closed before the switch activates, triggering the safety reverse. You might hear the motor strain briefly after the door hits the ground or see the trolley bump against the inner stop bolt. Some models have LED indicators on the motor unit that flash codes when limits are out of range—check your manual for blink patterns.
Adjusting the UP Limit Switch
To increase open travel (make the door go higher), turn the UP limit screw counterclockwise in small increments—typically 1/8 turn at a time. After each adjustment, reconnect power briefly and test the door. It should open fully without the motor straining or the trolley hitting the rail stop. If the door opens too far and the chain slips off the sprocket, you’ve gone too far—turn the screw clockwise to reduce travel. Never force the door manually if it stops short; this can damage the door panels or opener gear.
Adjusting the DOWN Limit Switch
To reduce close travel (prevent over-travel), turn the DOWN limit screw clockwise in small increments. This makes the switch activate earlier, stopping the door higher off the floor. Test after each adjustment: the door should close smoothly, settle evenly on the floor with the bottom seal compressed but not buckled, and not reverse immediately. If the door still reverses on close after adjustment, check for obstructions or misaligned safety sensors—those are separate from limit switches and can mimic limit-related reversal.
When Limit Adjustment Isn’t Enough
If adjusting the limits doesn’t resolve the issue—such as the door still reversing on close despite correct DOWN setting, or the motor straining at the top of travel—there may be other problems. Chain tension that’s too loose can cause the trolley to lag, making limits seem misaligned. A bent rail or damaged trolley bearings can also cause inconsistent travel. More critically, if the door feels heavy to lift manually or springs show signs of wear (gaps, rust, elongation), do not adjust limits—this could mask a spring failure. Torsion springs store lethal energy and must only be handled by trained technicians.
Safety Considerations and DIY Limits
Adjusting limit switches is generally a safe DIY task because it involves only low-voltage signaling components—no springs, cables, or high-tension parts. However, always disconnect power before touching the opener unit. If the door doesn’t stay open when manually lifted halfway, or if it crashes down when released, the counterbalance system (springs or extension cables) is failing—stop and call a professional. Never attempt to adjust, repair, or remove torsion springs, extension springs with exposed cables, or the center bearing plate. These parts can cause severe injury if they fail.
Frequently Asked Questions
How do I know if I’m adjusting the right screw?
Most opener units have labels near the adjustment screws—look for ‘UP’ and ‘DOWN’ or arrow symbols. If labels are worn, consult the model-specific manual online; manufacturers like Chamberlain, LiftMaster, and Genie have PDFs available. The UP screw affects open travel, the DOWN screw affects close travel—adjust one at a time and test.
Can a power outage cause limit switches to drift?
Yes. A sudden power loss can reset the opener’s internal position memory in some models, especially those with electronic limit learning. After power returns, the door may not open or close fully until the limits are manually re-adjusted or re-learned via the opener’s programming button.
What if the door reverses immediately when I try to close it?
First, check the safety sensors near the floor—make sure their lenses are clean and aligned (both LEDs should be steady, not blinking). If sensors are fine and the issue persists, the DOWN limit may be set too far back, causing the trolley to hit the internal stop and trigger reverse. Adjust the DOWN limit screw clockwise slightly and retest.
For persistent issues with door travel, spring tension, or opener performance, contact Up & Down Garage Doors at (778) 873-7282 for inspection and service.