Limit switches on a garage door strut system control how far the door travels when opening or closing. They are not part of the strut itself but are mounted on the opener rail or trolley mechanism, signaling the motor to stop when the door reaches its fully open or closed position. If the door stops too soon, hits the floor too hard, or doesn’t seal properly at the top, the limit switches likely need adjustment. This is a low-voltage electrical adjustment, not a mechanical tension issue, so it does not involve torsion springs or cables under load—making it one of the safer DIY checks on a garage door system.
How to Adjust Limit Switches Garage Door Strut
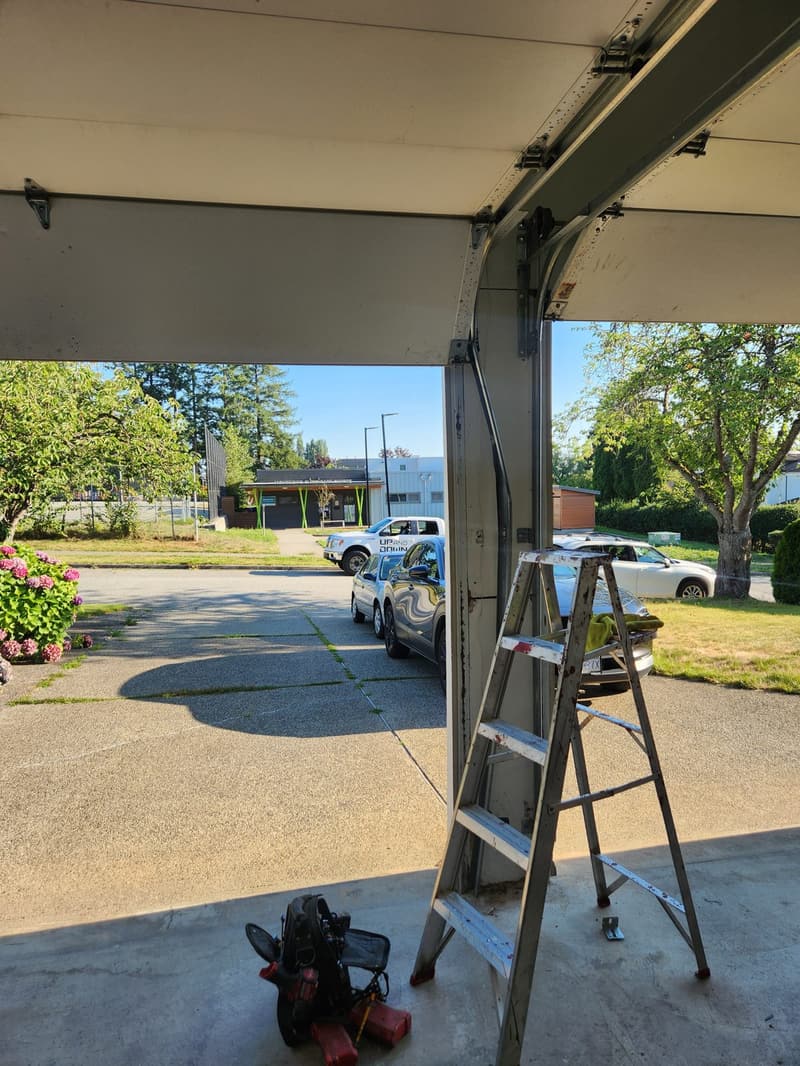
On residential garage doors with a strut reinforcement system, the strut is a vertical steel brace attached to the back of the door panel to prevent bowing, especially on wider doors. The limit switches, however, are located on the opener unit’s rail, typically near the motor end. They consist of two adjustable screws or nuts—one for open travel, one for close travel—that physically trip a lever arm as the trolley moves. When the trolley hits the switch, it cuts power to the motor. If the switch is set too far out, the door will overextend and strain against the stop; if too far in, it stops prematurely. The strut itself doesn’t move or adjust—it remains fixed to the door—but it ensures the door stays rigid during travel so the limit switches can function consistently.
Signs Your Limit Switches Need Adjustment
A door that reverses immediately after hitting the floor during close likely has the close limit set too far—it thinks it’s still open. Conversely, if the door stops several inches above the floor and won’t close fully, the close limit is too far in. On the open side, if the door doesn’t reach the header seal and leaves a gap, the open limit is under-traveled. If it slams into the header bracket or causes the strut to buckle slightly from over-travel, the open limit is too far out. You might hear the motor hum briefly after the door stops, indicating it’s still trying to run. These symptoms are repeatable and consistent cycle to cycle.
What You Can Safely Check Yourself
First, disconnect the opener by pulling the emergency release cord—this lets you manually move the door. Check that the door moves freely and stays put when lifted halfway; if it sags or drops, that’s a spring or cable issue, not a limit problem. Reconnect the opener and observe the door’s travel. Note where it stops relative to the floor seal and header. Use a piece of chalk or tape to mark the trolley position when the door is fully open and closed. Then, with the door in the mid-position and the opener unplugged, you can manually trip each limit switch by hand to verify they click. This confirms the switches are mechanically functional before adjusting.
How to Adjust the Limit Switch Screws
With the opener plugged in and the door closed, locate the two limit adjustment screws on the opener head—usually labeled ‘UP’ and ‘DOWN’ or marked with arrows. To increase travel (make the door go farther), turn the screw counterclockwise; to decrease travel, turn it clockwise. Adjust in quarter-turn increments. After each adjustment, run a full open-close cycle and observe the stopping point. For the close limit, aim for the door to sit snugly on the floor without reversing. For the open limit, stop just before the door forces against the header bracket—typically 1/4 inch short of contact to allow for seal compression. Never force the door; if it strains, you’ve gone too far.
When Adjustment Isn’t Enough
If the door reverses mid-cycle, hesitates, or the limit switches don’t stay set after adjustment, the issue may not be the switches themselves. Worn trolley gears, a failing motor capacitor, or loose wiring to the switch circuit can mimic limit problems. On strut-equipped doors, also inspect the strut bolts—if they’re loose, the door may flex during travel, causing inconsistent trolley position and false limit readings. But if the door moves smoothly by hand and the motor runs normally, yet the limits won’t hold, the switch assembly or internal opener logic may be failing. At that point, it’s not a simple adjustment—it’s a component replacement.
Safety Boundaries: What Not to Touch
Limit switch adjustment involves only low-voltage signals and mechanical stops—no stored energy. However, never confuse this with adjusting the door’s travel via the torsion spring system. The springs, cables, bottom bracket, and opener trolley are under extreme tension. Do not attempt to loosen set screws on the spring cone, adjust cable drums, or disconnect cables while the door is under load. If the door won’t stay up when manually lifted, or if you see frayed cables, gaps in the spring, or a bent strut from overload, stop. Those are signs of a spring or cable failure requiring professional service. The strut itself is passive—it doesn’t store energy—but if it’s bent or cracked from impact, it needs replacement.