A garage door belt drive breaks when the reinforced rubber belt snaps, frays, or jumps off its pulleys due to prolonged stress, misalignment, or environmental degradation. Unlike chain drives that show visible rust or elongation, belt failures often happen silently until the door stops moving or jerks unevenly. The belt itself is a continuous loop of fiberglass-reinforced neoprene or polyurethane that transfers motor rotation to the door via a drive pulley and idler pulley. Over time, constant flexing, heat cycling, and exposure to ozone or oils cause the rubber to crack and lose tensile strength. When the belt finally fails, you might hear a sudden slapping noise from the opener rail, or the motor will run but the door won’t move. Visually, you’ll see frayed edges, deep cracks, or a clean separation where the belt has split lengthwise or across its width. Misaligned pulleys or a door that’s binding due to worn rollers or bent tracks create uneven load on the belt, accelerating wear on one edge. If the idler pulley seizes or the motor sprocket develops play, the belt can climb off the track and get shredded by the rail brackets. Cold weather makes belts more brittle, while heat softens the material, both contributing to premature aging. You can inspect the belt yourself by disconnecting the opener and manually moving the door to check for smooth travel, then visually examining the belt for cracks, glazing, or debris in the teeth. Never attempt to adjust or replace the belt if the torsion springs are involved—those are under extreme tension and can cause severe injury if mishandled. Replacing a belt drive is a straightforward DIY task for someone comfortable with basic tools, but only after confirming the door is balanced and the springs are intact. If the door sags when lifted manually or the cables are frayed, stop and call a technician—those indicate spring or cable issues that require professional handling. Belt drives are low-maintenance but not immune to wear; treating them like a consumable part with a 5- to 7-year lifespan helps avoid sudden failure.
How Belt Degradation Leads to Failure
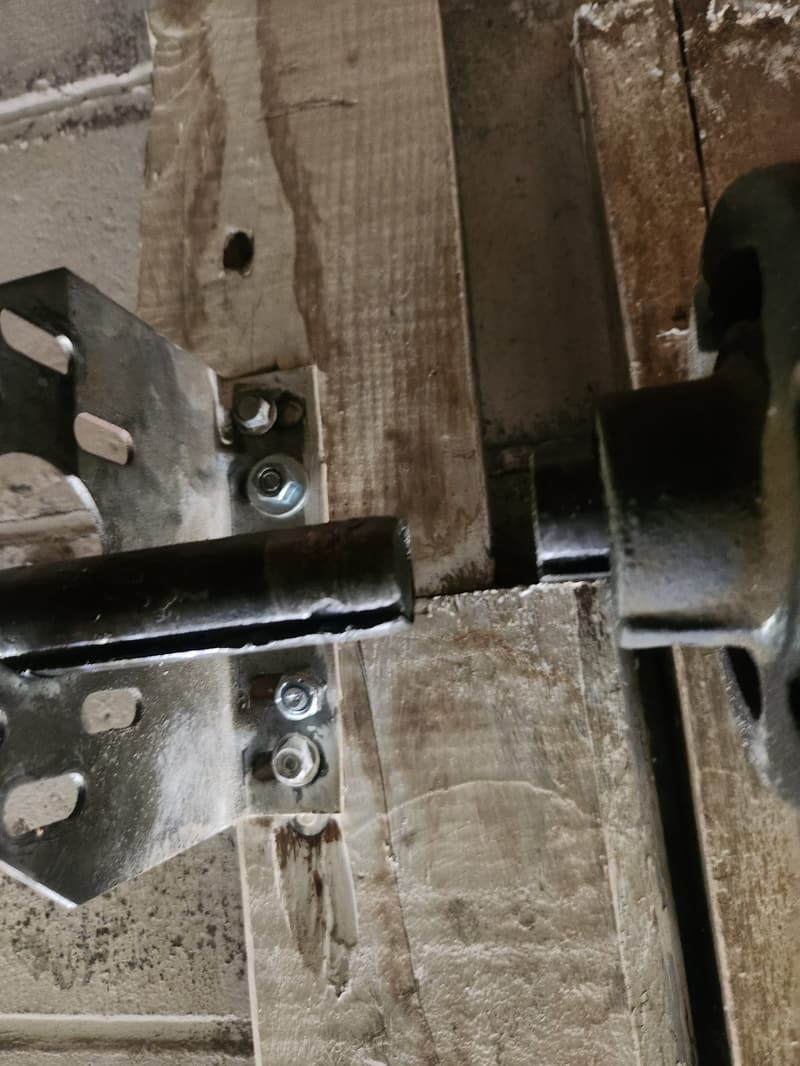
The belt doesn’t usually snap all at once. It starts with micro-cracks in the neoprene backing that grow with each flex cycle. As the cracks deepen, the reinforcing fibers lose their bond to the rubber, causing delamination. You might notice the belt becoming stiff or developing a glazed, shiny surface from heat buildup. Once the structural integrity is compromised, normal operating loads cause it to tear under tension, especially during startup when torque is highest. A broken belt often leaves ragged ends or a clean cut if it severed under peak load.
Pulley Misalignment and Tracking Issues
If the drive pulley on the motor shaft or the idler pulley at the far end isn’t perfectly parallel, the belt will drift sideways with each cycle. This edge loading wears down one side rapidly, creating a frayed or tapered appearance. You can check alignment by sighting down the belt—if it’s not running centered on the pulleys, loosen the mounting bolts and adjust the pulley position before re-tensioning. A door that binds due to dirty rollers or bent track will also cause the belt to surge and slack, increasing fatigue.
Environmental Factors in BC Climates
Metro Vancouver’s damp winters and occasional summer heat belts create unique stress. Moisture can promote mold growth on the belt surface, which degrades rubber over time. Temperature swings cause the belt to expand and contract, accelerating fatigue. Garages near salt air or industrial zones may see faster deterioration from airborne contaminants. Regular cleaning with a dry cloth and avoiding lubricants on the belt (which attracts dirt and softens rubber) helps prolong life.
What a Broken Belt Sounds and Feels Like
When the belt fails, the motor will often spin freely with a high-pitched whine since there’s no load. You might hear a slapping or flapping noise as the loose end hits the rail. The door will feel disconnected—manual lift will be smooth, but the opener does nothing. If the belt jumps the pulley instead of breaking, you’ll see it bunched up on one side or riding over the flange, often accompanied by a grinding noise as it shreds against the bracket.
DIY Inspection Steps Homeowners Can Take
Disconnect the opener by pulling the emergency release cord. Manually lift the door—it should move smoothly and stay open around 3-4 feet. If it sags or drops, the springs need attention—stop here. With the door closed, visually inspect the belt for cracks, especially near the pulleys. Check for proper tension: you should be able to deflect the belt about 1/2 inch sideways with moderate force. Look for debris in the belt teeth or pulley grooves. Spin the idler pulley by hand—it should turn freely without wobble or noise.
When to Call a Professional
If the door doesn’t balance manually, the cables are frayed, or the torsion springs show signs of rust or gaping, do not proceed—those are high-tension components requiring specialized tools and training. Similarly, if the motor gear is stripped or the sprocket is wobbly on the shaft, internal opener repair is best left to a technician. Belt replacement is safe for DIY only after confirming the door is mechanically sound and the springs are storing energy correctly.