Garage door limit switches control how far the door travels when opening and closing. If the door stops too soon, hits the floor too hard, or doesn’t fully seal against the weatherstrip, the limit switches likely need adjustment. These are small screw or dial mechanisms on the motor unit that tell the opener when to stop the motor based on shaft rotation count. They don’t measure distance directly—they count turns of the drive shaft, which correlates to door position. When misadjusted, the door may reverse prematurely, fail to close completely, or strain the opener trying to move past its mechanical stop.
How to Adjust Limit Switches Garage Door Panel — Identifying Limit Switch Problems
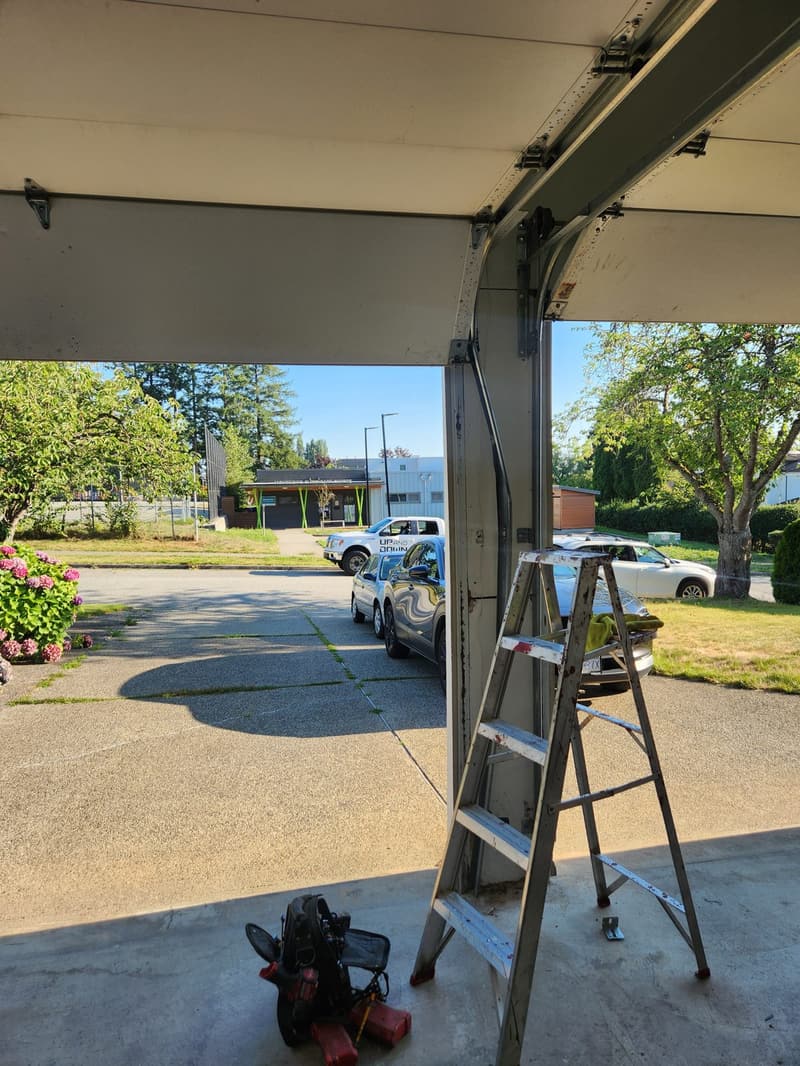
The most common symptom is the door reversing before it hits the floor during closing, or stopping short of fully open. You might hear the motor run for a second or two after the door stops, or see the door jerk as it tries to move past where it should stop. On opening, the door may leave a gap at the top or fail to clear the header. These issues often develop gradually as the door settles, cables stretch, or the opener shaft shifts slightly. Unlike sensor misalignment—which causes reversing with blinking lights—limit switch issues occur without safety beam interruption and happen consistently at the same point in travel.
How Limit Switches Work Mechanically
Inside the motor housing, a plastic gear on the motor shaft drives a longer shaft connected to the chain or belt. Attached to this shaft are one or two adjustable cams or nuts that physically push against micro-switch levers. As the shaft rotates a set number of turns (say, 15 for full open), the cam pushes the switch lever, cutting power to the motor in that direction. The ‘up’ limit switch stops the motor when opening; the ‘down’ limit switch stops it when closing. Adjusting them changes how many shaft rotations occur before the switch is triggered—effectively changing where the door stops.
Safety First: What You Can and Cannot Touch
Before touching anything, disconnect power to the opener by unplugging it or switching off the circuit breaker. The limit switch adjustment itself is low-voltage and safe to perform with power off. However, never attempt to adjust anything near the torsion spring assembly—those springs store lethal energy and can cause fatal injury if mishandled. If you see a large spring mounted horizontally above the door, or a steel shaft with cables wound on drums at each end, do not touch it. Limit switch adjustment is on the motor unit only, typically mounted to the ceiling near the door center. If your opener has a cover over the motor, remove it to access the adjustment screws.
Adjusting the Up Limit Switch
Locate the two adjustment screws or dials on the side or back of the motor unit—often labeled ‘UP’ and ‘DOWN’ or marked with arrows. To increase travel (make the door open higher), turn the UP screw counterclockwise in quarter-turn increments. To decrease travel (stop sooner), turn it clockwise. After each adjustment, reconnect power briefly, operate the door fully open, then disconnect power again to test. Repeat until the door stops with the top section just clearing the header or touching the weatherstrip, depending on your seal type. Over-traveling can bend the top panel; under-traveling leaves gaps for weather and pests.
Adjusting the Down Limit Switch
Use the DOWN screw similarly: turn counterclockwise to increase downward travel (door closes farther), clockwise to decrease it (door stops higher). The goal is for the door to seal fully against the floor without the motor straining or the door reversing. If the door hits the floor and reverses, the down limit is set too far—turn the DOWN screw clockwise to reduce travel. If it stops an inch or more above the floor, turn it counterclockwise. Test after each adjustment by running a full cycle. Listen for grinding or hesitation near the floor—those indicate mechanical binding, not just limit issues.
When Limit Adjustment Isn’t Enough
If adjusting the limits doesn’t resolve the issue, or if you find yourself needing to turn the screws multiple full turns with no effect, the problem may be elsewhere. Worn drive gears, a slipping chain, or a failing motor can mimic limit switch problems. Also, if the door binds manually when disconnected from the opener, the issue is in the door itself—rollers, hinges, or tracks—not the opener. Limit switches only control motor runtime; they don’t fix mechanical resistance. If the door moves unevenly or makes noise when operated by hand, stop and inspect those components before adjusting limits further.
When to Call a Professional
If the door reverses immediately upon closing, or if the opener hums but doesn’t move the door, do not keep adjusting limits—this could indicate a motor or capacitor issue. Any work involving the torsion spring, cable drum, or center bearing plate requires specialized tools and training. Attempting to adjust or repair those components without proper knowledge risks sudden spring release, which can cause severe injury or death. If you’re unsure whether a part is under tension, assume it is and leave it alone. A qualified technician can diagnose whether the issue is limit-related, mechanical, or electrical in under an hour.
Frequently Asked Questions
How do I know if my garage door has limit switches?
All modern residential garage door openers have limit switches as part of the motor control system. They are internal to the unit and not visible without opening the cover. If your door uses a remote or wall button to open and close, it has limit switches regulating travel distance.
Can weather affect limit switch settings?
Temperature changes can cause metal components to contract or expand slightly, which may alter door travel over time. However, the limit switches themselves are not typically affected by weather—shifts in stopping position are more likely due to door settling, cable stretch, or hinge wear than the switches drifting on their own.
Is it normal for the limit screws to feel stiff?
Some resistance is normal due to the plastic cam mechanism inside, but they should turn smoothly with a screwdriver. If they are seized or require excessive force, do not force them—this could strip the adjustment mechanism. Apply a small amount of silicone lubricant to the screw shaft if needed, but avoid getting lubricant on the switch contacts.
For assistance with garage door limit switch adjustments or other opener concerns in Metro Vancouver, contact Up & Down Garage Doors at (778) 873-7282.