Services
Locations
📞 (778) 873-7282
Home / Blog / Can You Replace a Garage Door Hinge Yourself? A Practical Guide

Can You Replace a Garage Door Hinge Yourself? A Practical Guide

Learn how to assess, remove, and replace a garage door hinge safely. Understand when it's a DIY fix and when to call a pro for tension-related components.

Call (778) 873-7282
Licensed & insured
Open 24 hours
Based in Richmond
5-star rated

Replacing a garage door hinge is often a manageable DIY task if the door is properly secured and no torsion spring components are disturbed. The hinge itself is a simple steel bracket that allows the door panels to pivot as the door rolls up and down. When a hinge fails, it typically cracks, bends, or pulls away from the door section, causing binding, uneven movement, or a loud creaking or grinding noise during operation. You might notice the door sticking at a specific point or one corner sagging lower than the rest. Before starting, disconnect the garage door opener and clamp locking pliers or C-clamps on the track just below the bottom roller to prevent the door from dropping. This is critical — never rely on the opener alone to hold the door in place.

Identifying the Type of Hinge and Door Section
Garage doors use either standard butt hinges or continuous (piano) hinges along the seam between sections. Most residential steel or wood doors use individual stamped steel hinges mounted with bolts through pre-drilled holes. These hinges are labeled with a number (usually 1, 2, or 3) indicating their position from the bottom — number 1 hinges are at the bottom and bear the most stress. Inspect the hinge for stripped holes, elongated bolt slots, or visible metal fatigue. If the door section itself is rotted, cracked, or warped around the hinge mounting points, replacing the hinge alone won’t fix the underlying issue.
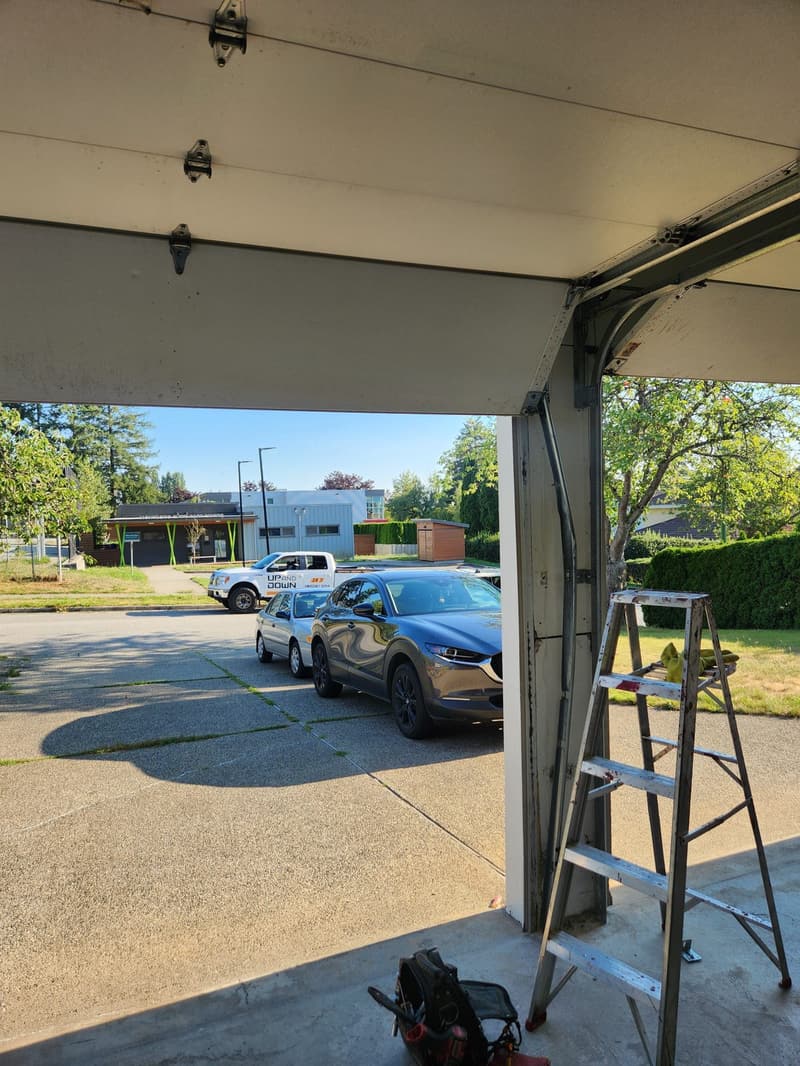
double residential garage door tune-up
Double residential garage door tune-up.

Tools and Preparation for a Safe Replacement
You’ll need a socket set or wrench (typically 7/16” or 1/2”), a ratchet, locking pliers or C-clamps, a step ladder, and safety glasses. Wear gloves to protect against sharp edges. Position the ladder to the side of the door, not underneath it, in case of sudden movement. Loosen the bolts on the failing hinge just enough to relieve tension — do not remove them completely until the door is secured. If the hinge is binding, gently tap the door section with a rubber mallet to realign it before removing the bolts. Have a replacement hinge of the same number and size ready; hinges are not universal — using the wrong type can cause misalignment or premature wear.

Removing the Old Hinge Without Damaging the Door
Once the door is secured, remove the bolts holding the hinge to the door section. If the bolts are rusted, apply penetrating oil and wait 10–15 minutes before attempting removal. Avoid using excessive force or impact tools that could strip the holes. After removing the hinge, inspect the mounting area. If the screw holes are stripped, you can fill them with epoxy-coated wooden dowels or use larger-diameter bolts with washers to gain fresh purchase — but only if the door section material is sound. If the steel is torn or the wood is splintered beyond repair, the section may need reinforcement or replacement.

Installing the New Hinge and Testing Operation
Position the new hinge so it aligns with the existing holes or your repaired mounting points. Insert the bolts and tighten them snugly — do not over-torque, as this can warp the hinge or crack the door section. Recheck the alignment of the door section with the ones above and below it; the seam should be even with no gaps or binding. Remove the clamps, reconnect the opener, and operate the door manually first to check for smooth movement. Listen for rubbing or catching. Only then test with the opener, watching for strain on the motor or uneven travel. If the door binds or lifts unevenly, recheck hinge position and section alignment.

When a Hinge Reveal Points to a Larger Problem
A failing hinge is sometimes a symptom, not the cause. If multiple hinges in the same area are failing, or if the door section is sagging despite intact hinges, the issue may be a weakened horizontal strut, damaged panel, or misaligned track. In wood doors, rot from moisture exposure can compromise the mounting surface. In steel doors, rust along the inner flange can weaken the structure over time. These conditions require more than a hinge swap — they may need section reinforcement, strut replacement, or panel repair.

The Critical Boundary: What Not to Touch
Never attempt to adjust, remove, or replace any component connected to the torsion spring system — including the springs themselves, cables, cable drums, or the torsion tube. These parts store immense kinetic energy and can cause severe injury or death if released unexpectedly. Even loosening a set screw on the torsion tube without proper winding bars and knowledge can result in sudden rotation. If your repair requires touching anything above the top hinge or near the spring assembly, stop and consult a technician. The same applies to extension spring systems with safety cables — if those cables are missing or frayed, do not operate the door.

Frequently Asked Questions
### How do I know if I need a number 1, 2, or 3 hinge?
Hinges are numbered based on their position from the bottom of the door. Number 1 hinges are at the bottom and have a different curve to accommodate the roller and bear more weight. Number 2 hinges go in the middle sections, and number 3 hinges are at the top. Check the existing hinge — the number is usually stamped on the metal plate.

Can I use lubricant to fix a noisy hinge instead of replacing it?
Lubricant may reduce noise temporarily if the hinge is dry but intact. However, if the hinge is bent, cracked, or has elongated holes, lubricant won’t restore structural integrity. A noisy hinge that binds or shows visible wear should be replaced — lubrication is maintenance, not repair.

What if the hinge bolts keep loosening after I tighten them?
Recurring loosening often indicates vibration from misalignment, worn rollers, or a damaged door section allowing movement. Check roller wear and track alignment first. If the holes are enlarged, use thread-locking compound on the bolts or install slightly larger bolts with washers to reduce play — but only if the door material can support it.

Stuck door? Let's get it moving.

One call, a clear price, and the job done right — 24/7 across Metro Vancouver.

📞 Call (778) 873-7282