

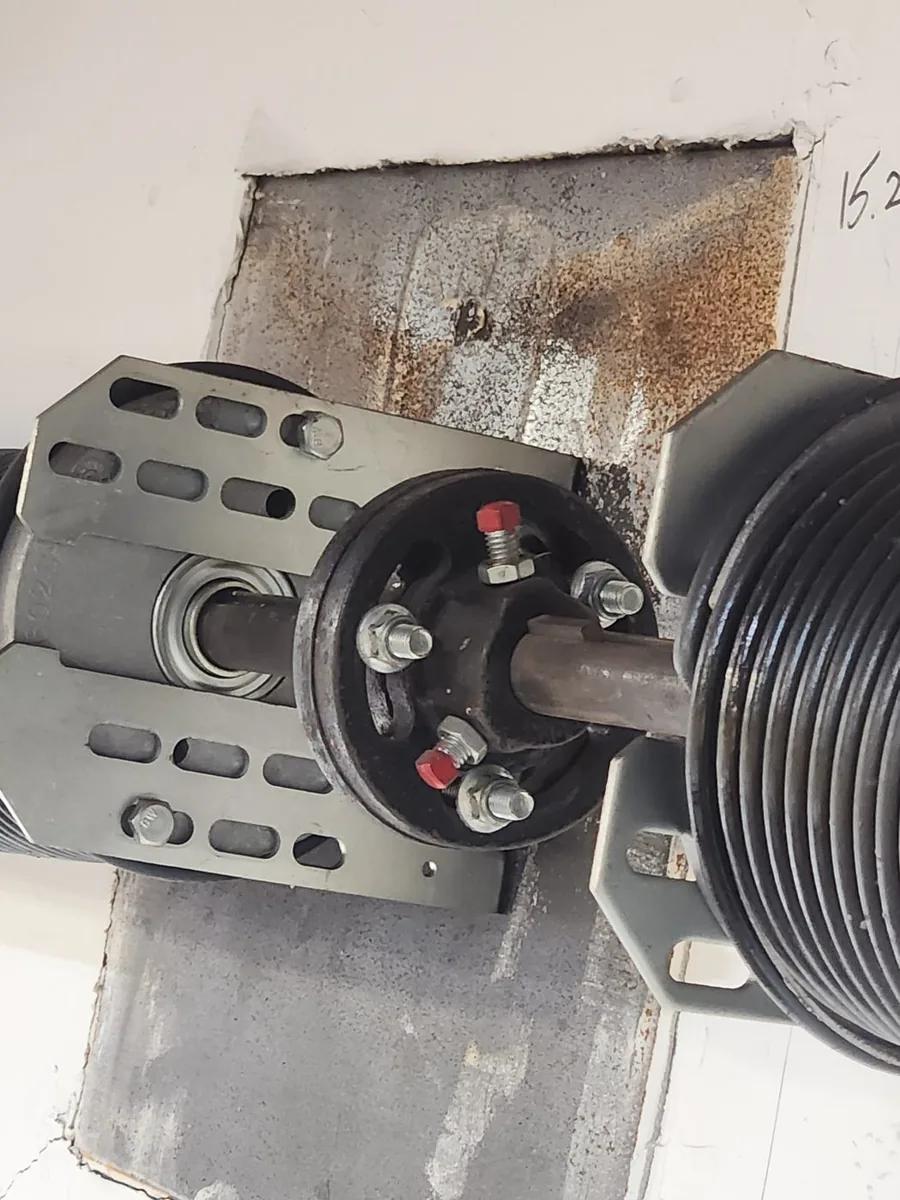
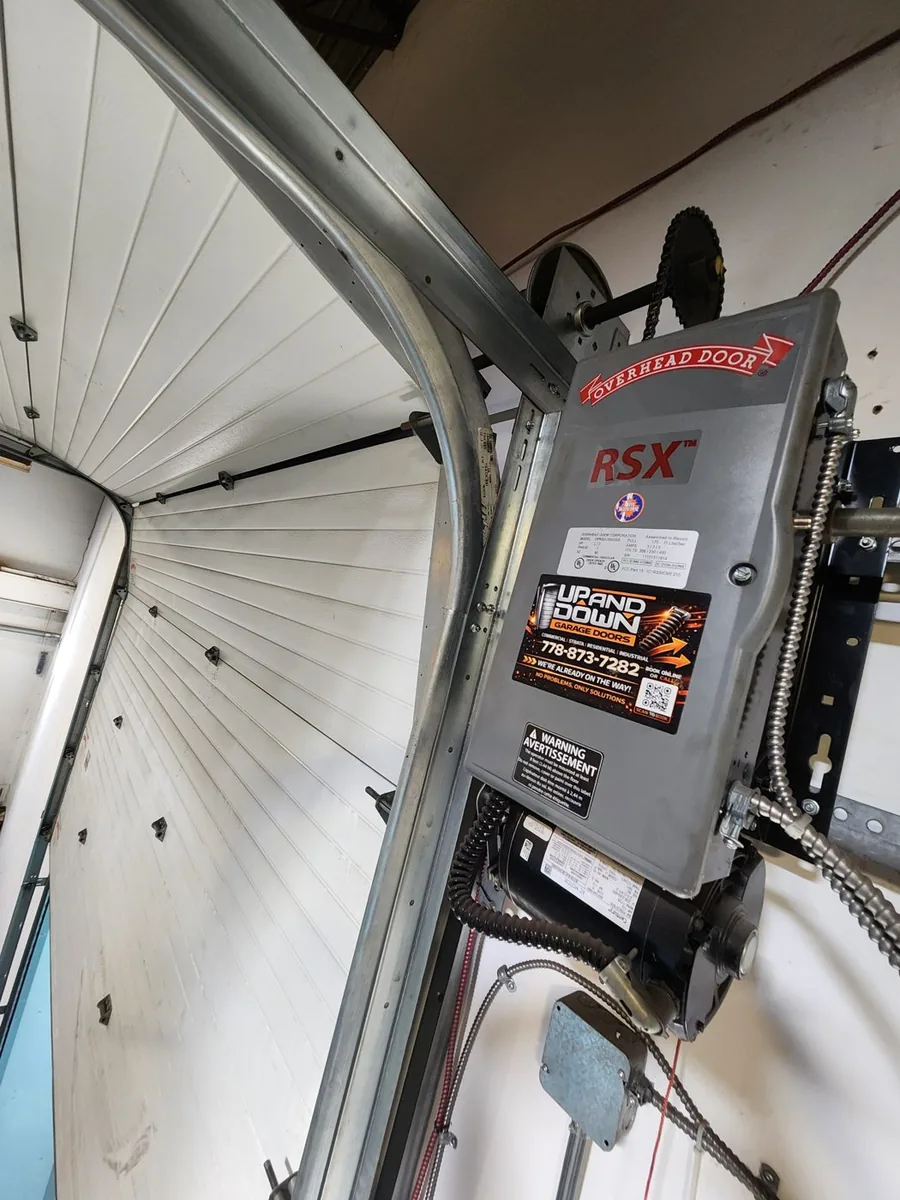
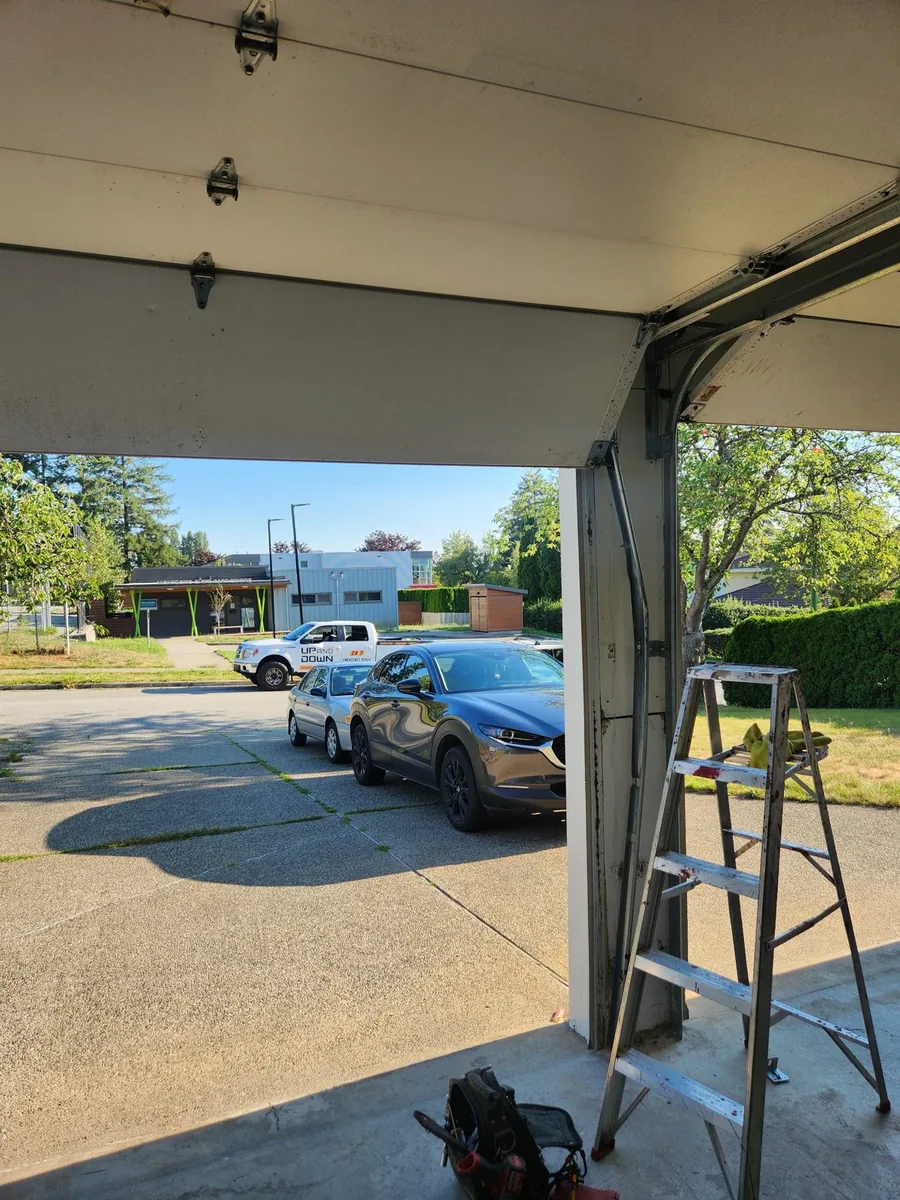
A wall mount garage door opener bolts to the wall beside the door and turns the torsion bar directly. There's no rail across the ceiling, no trolley and no motor hanging over the car. In a townhouse or a laneway house where the garage ceiling is low, crowded with ducts, or wanted for storage racks, that's often the only way to automate the door cleanly.
But "wall mount fixes low headroom" is only half true, and the other half is where installs go wrong. This guide walks through the measurements and hardware checks from the LiftMaster installation manuals, so you know before you buy whether your door can take one.
How a wall mount garage door opener works
A ceiling opener pulls the door along a rail with a chain, belt or screw. A wall mount opener, also called a jackshaft or side-mount opener, slides onto the end of the torsion bar above the door and rotates it. The torsion springs still do the heavy lifting; the opener turns the bar, the cable drums wind up the lift cables, and the door rises.
That design has three consequences that shape everything below:
- The door must have torsion springs on a bar the opener can grip.
- The opener can't push the door down, so it needs a way to know when a cable has gone slack.
- Any wobble in the torsion bar goes straight into the opener.
Wall mount garage door opener requirements: the hardware
LiftMaster's installation manual for the 8500WMC (the current version of the 8500W) is blunt about it: install on sectional doors with torsion assemblies only. Here's what it lists as compatible.
| Item | Requirement (LiftMaster 8500WMC manual) |
|---|---|
| Springs | Torsion bar and springs; bar must be 1" (2.5 cm) diameter |
| Drums | 4–6" drums; not tapered drums over 6"; 3–3.9" drums only on doors up to 430 lb |
| Not compatible | Reverse wound drums, low headroom tracks, extension springs |
| Lift type | Standard lift, or high lift up to 54" |
| Door size | Up to 14 ft high, 18 ft wide, 180 sq ft |
| Power | Electrical outlet within 6 ft of the installation area |
Extension springs are a hard no
No. A wall mount opener drives the door by turning the torsion bar, so the door needs torsion springs on a 1-inch bar. Doors with extension springs along the tracks would need a conversion to torsion springs first. Not sure which you have? Torsion springs sit on a bar above the door opening; extension springs stretch along the horizontal tracks on each side. Our torsion vs extension springs guide shows the difference with photos.
The low-headroom trap
Here's the part most product pages skip. Many low-ceiling garages already have a "low headroom" track kit: a double horizontal track or a rear-mounted spring setup with reverse wound or outside pickup drums. Those parts let the door clear a tight ceiling. They are also exactly what the LiftMaster manual rules out.
It works under a low ceiling, but not on low-headroom track hardware. LiftMaster's manual asks for at least 3 inches between the ceiling and the centre of the torsion bar, and it says the opener is not compatible with reverse wound drums or low headroom tracks. A door with that hardware needs a track and spring change first. Sometimes the conversion is simple; sometimes the ceiling really is too tight for a standard torsion setup. Measuring first saves you from buying an opener that can't go on.
Clearances to measure before you buy
Grab a tape measure and check the side of the door where the opener would go. It can go on either side. The 8500WMC manual lists four numbers:
- Ceiling to bar: at least 3" (7.6 cm) from the ceiling to the centre of the torsion bar.
- Wall to bar: at least 2.5" (6.4 cm) from the wall above the door to the centre of the torsion bar.
- Side room: at least 8.5" (21.6 cm) from the side wall, or any obstruction, to the end of the torsion bar.
- Bar length: the torsion bar has to extend at least 1.5" (3.81 cm) past the bearing so the opener has something to slide onto.
Put together: For the LiftMaster 8500WMC, the manual lists at least 8.5 inches between the side wall (or any obstruction) and the end of the torsion bar, plus 2.5 inches between the wall and the centre of the bar. The bar also has to stick out at least 1.5 inches past the bearing.
The side-room number is the one that fails most often in townhouse garages. A door that fills the opening wall to wall, or a gas meter, panel or pipe right beside the bearing plate, can leave no room for the opener body. The LiftMaster 98022 product guide, published by its Canadian distributor, gives the opener head as 21.5" high, 7.5" wide and 7.9" long, so you also need wall space below the bar.
Check the bar itself too. The manual says to raise and lower the door and watch the torsion bar: there should be no noticeable up-and-down or side-to-side movement, or the life of the opener will be greatly reduced. A worn bearing or loose end plate needs fixing before the opener goes on.
Balance comes first
The opener assumes the springs are doing the work. LiftMaster's test: lift the door halfway and let go. A balanced door stays put, held entirely by its springs. If it drops or creeps up, the springs need adjusting or replacing before any opener goes on, wall mount or ceiling.
The cable tension monitor and the automatic lock
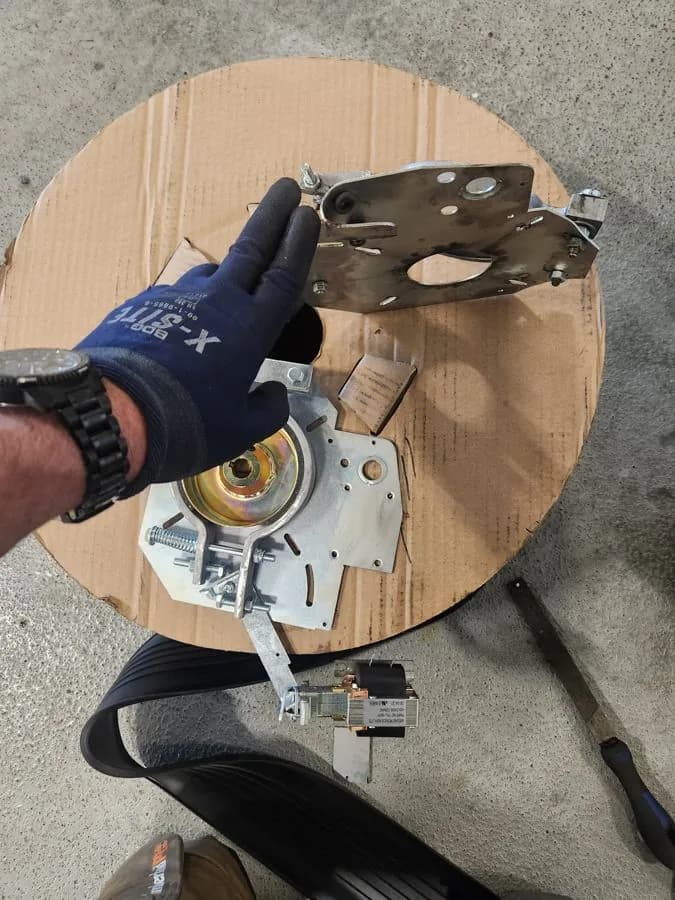
Because a wall mount opener only winds and unwinds the cables, it needs to know if a cable goes slack. If a cable loosens on the way down, it can jump the drum, which is the problem in our cable off drum guide.
It is a small roller that sits on top of the lift cable near the drum. LiftMaster says it detects any slack in the cable and reverses the door, and the door will not close unless it is connected. Some newer models, like the LiftMaster 98022, are sold without one. On the 8500WMC it's required, and the manual gives the placement: the roller 2–6" from the drum, extending 1/8–1/4" past the cable, with the cable about 3/4" from the mounting surface, mounted over a wood support. A second monitor can be added on the other side; if either one detects slack or gets disconnected, the door won't go down.
The 98022 guide describes "no more cable tension monitor" as a selling point for faster installs. Either way, the door still needs properly tensioned cables on both sides through its full travel.
The automatic deadbolt
Wall mount openers are usually paired with a motorized lock that bolts the door through the track when it closes. On the LiftMaster units it's the 841LM. The manual says to mount it within 10 ft of the opener, ideally at the third roller from the bottom, with the bolt hole about 3" from the centre of a roller. Older 24V locks are not compatible.
Two things to know. First, LiftMaster says to disable all existing manual locks before installing and running the opener; an opener fighting a locked slide bolt can damage the door. Second, the 8500W user guide says that on battery backup the automatic lock releases when the door opens and stays disabled until power is restored. If you rely on the lock for security, that's worth knowing during a long outage. Our power outage guide covers opening the door by hand.
Is a wall mount garage door opener right for your garage?
It's a good fit when:
- The ceiling is low or cluttered but the door has standard torsion hardware and the clearances above check out.
- You want the ceiling for storage, a lift or lighting.
- The door is high lift (up to 54" on the 8500WMC).
- There's living space over the garage. The motor sits on the wall beside the door instead of hanging from the ceiling joists, so less vibration travels into the room above. LiftMaster markets the 98022 as an ultra-quiet DC motor that reduces vibration through the ceiling. That matters most in townhouses with a bedroom over the garage.
It's the wrong fit when the door uses extension springs, low headroom track with reverse wound drums, or tapered drums over 6", or when there's no room beside the bar. Those doors either need hardware changes first or are better served by a ceiling opener.
In strata buildings, check your bylaws and get approval in writing before drilling into walls or adding wiring, especially if the wall is common property. Our page on strata garage door service covers how we work with councils and property managers.
What we check on a site visit
- Spring type, bar diameter and drum type
- Ceiling, wall and side clearances on both sides of the door
- Bearing and bar movement through the full travel
- Door balance and cable condition
- Outlet location, and where the lock and safety sensors will mount
We install and service LiftMaster wall mount openers in Vancouver and across the Lower Mainland, and you can see the current models on our LiftMaster opener page. If your garage passes the checks above, or you're not sure, call (778) 873-7282 and we'll tell you what your door needs. New clients: 10% off labour on your first repair — mention NEW10 when you book (one per household/business, work booked by Dec 31, 2026).